Making one box is a craft. Making a hundred is a small production run, and it goes wrong in different ways: you run out of card halfway, the glue gun burns out at box forty, or the last twenty come out slightly different from the first. A little planning before you print avoids all three.
Step 1: choose a shape that is fast to fold
The biggest time saving is the shape itself. For large batches, pick a box with few folds and one glued seam or none.
Fastest:
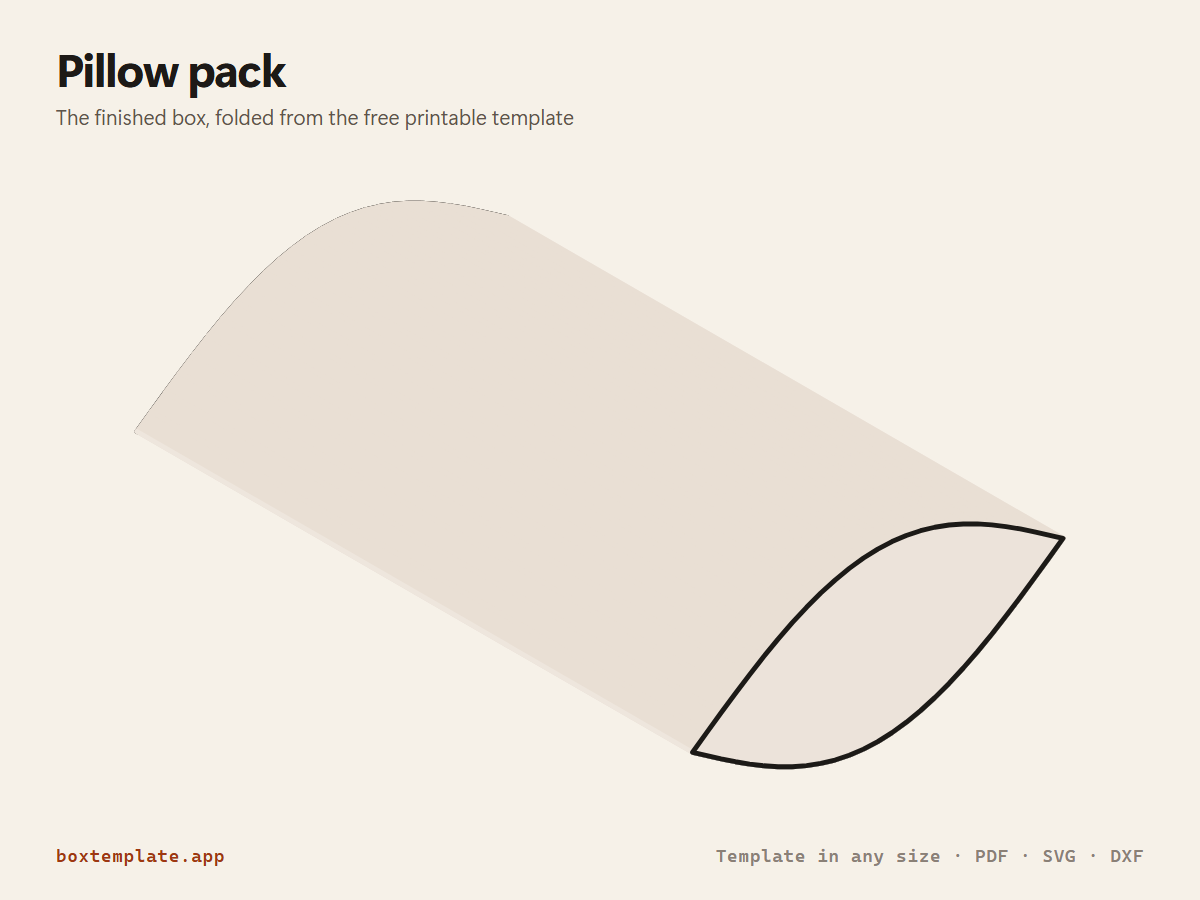
- Pillow pack: one seam, curved ends that press shut. The usual choice for wedding favours.
- Pyramid: few folds, closes at the top with a ribbon.
- Envelope and Sleeve: flat, quick, good for cards, seeds, tea bags or a chocolate bar.
Medium:
- Card box and Gift box (straight tuck): one seam and two tuck ends. Every fold is straight.
- Purse box and Flip-lid box: a little more folding, but they look more finished.
Save for small numbers: star lid boxes, petal boxes, exploding boxes and anything with many glued corners. They are beautiful, but each one takes much longer, and over a hundred boxes that adds up to whole evenings.
Step 2: make one, then change one thing
Make a single box from plain paper at the size you think you want. Put the real contents in. Then decide:
- Is there too much space? Reduce the size by a few millimetres.
- Does the lid or tuck pop open? Check the card thickness setting in the maker matches the card you will use.
- Is a flap fiddly? Try the next shape on the list.
Make the second test box from your real card. Do not start the batch until a box made from the real card is right. The measuring guide covers how much room to leave inside.
Step 3: work out how much card you need
Look at the PDF from the maker: it tells you how many sheets one box takes. Small boxes such as pillow packs often fit more than one to a sheet if you place several copies on one page yourself (download the SVG and duplicate it in Inkscape, Illustrator or Cricut Design Space).
Then:
sheets needed = number of boxes ÷ boxes per sheet, plus 10% for mistakes
For 100 favour boxes at two per sheet, that is 50 sheets plus 5 spare: buy a pack of 60. You will spoil a few, and a different batch of the same card can be a slightly different colour, so buy it all at once.
Step 4: set up an assembly line
Do one step across the whole pile before moving to the next. It is faster because your hands learn the movement, and the boxes come out the same because every one is done the same way.
- Print every sheet. Check the first one with a ruler before printing the rest; here is why a template can print at the wrong size.
- Score every dashed line on every sheet while the sheets are still flat and square.
- Cut every piece out. A craft knife and a metal ruler on a cutting mat is faster and straighter than scissors for straight lines. Stack cut pieces in tens so you can count them.
- Pre-fold every fold on every piece, then open them out again. Pre-folded card assembles much faster.
- Glue every seam. Lay glued boxes flat under a book while they set.
- Fill and close last, ideally close to the day.
If you have a cutting machine, steps 2 and 3 become one: the SVG or DXF keeps fold lines separate so the machine scores them. The Cricut guide explains the settings.
Glue for big batches
- Double-sided tape is the fastest: no drying time and no mess. Use craft or packaging tape; office tape lets go as the card flexes.
- A glue runner is almost as fast and refills cheaply.
- PVA or craft glue is strongest but needs drying time, so you need space to lay boxes out.
- A hot glue gun is fast but leaves lumps on thin card and strings everywhere. Better for heavy board.
Get help, and give each person one job
If friends or family are helping, give each person one step rather than one whole box. One person scores, one cuts, one folds, one glues. Boxes come out identical and nobody has to learn every step.
How long will it take?
It depends on the shape and on your hands, so time yourself. Make five boxes from start to finish, note how long they took, and multiply. After the first ten, most people get noticeably faster, so your estimate will be on the safe side.
Questions
Should I just get them printed and cut professionally?
For a few dozen, making them yourself is usually cheaper and faster. For hundreds, or if you want foil, embossing or a sturdy finish, a print shop or packaging printer is worth a quote. Getting it printed compares the options.
How do I keep the colours the same on every box?
Print the whole batch on the same printer in one session, from the same pack of card. Do not change ink cartridges halfway if you can avoid it.
Can I put each guest's name on their box?
Yes, but each named box is a separate design and a separate print. A quicker way is to print the box plain and add a small name tag tied with ribbon; the Gift tag template prints many to a sheet.
I am making these for a client or to sell. Is that allowed?
The free licence covers personal use. Boxes made for clients or for sale need a commercial licence; see the licence page.