Shop-bought organisers come in a few standard sizes and almost never fill a drawer. You end up with a gap down one side where everything slides about. Trays made from a template can be any size, so the drawer is filled exactly, and if your needs change you make new ones for the price of a few sheets of card.
Step 1: measure the drawer
Measure the inside of the drawer, wall to wall:
- Width and depth at the bottom of the drawer, not the top. Some drawers taper or have a lip.
- Height: measure from the drawer floor to the bottom of the drawer frame or the drawer above, then take off 5–10 mm so the trays do not catch when the drawer closes.
- Obstacles: note any runners, screws or a curved back that eat into the space.
Step 2: split the space on paper
Draw the drawer as a rectangle on squared paper and divide it into trays. A few rules that work:
- Put the things you use most at the front.
- Size each tray around the longest item in it. Scissors, a tape measure or a spatula sets the length.
- Leave 2–3 mm between trays and around the edge so they lift out easily. Card swells slightly in a damp room.
- Keep to a few standard sizes where you can, so trays can swap places.
Check that the tray sizes, plus the gaps, add up to the drawer size before you print anything.
Step 3: choose the template
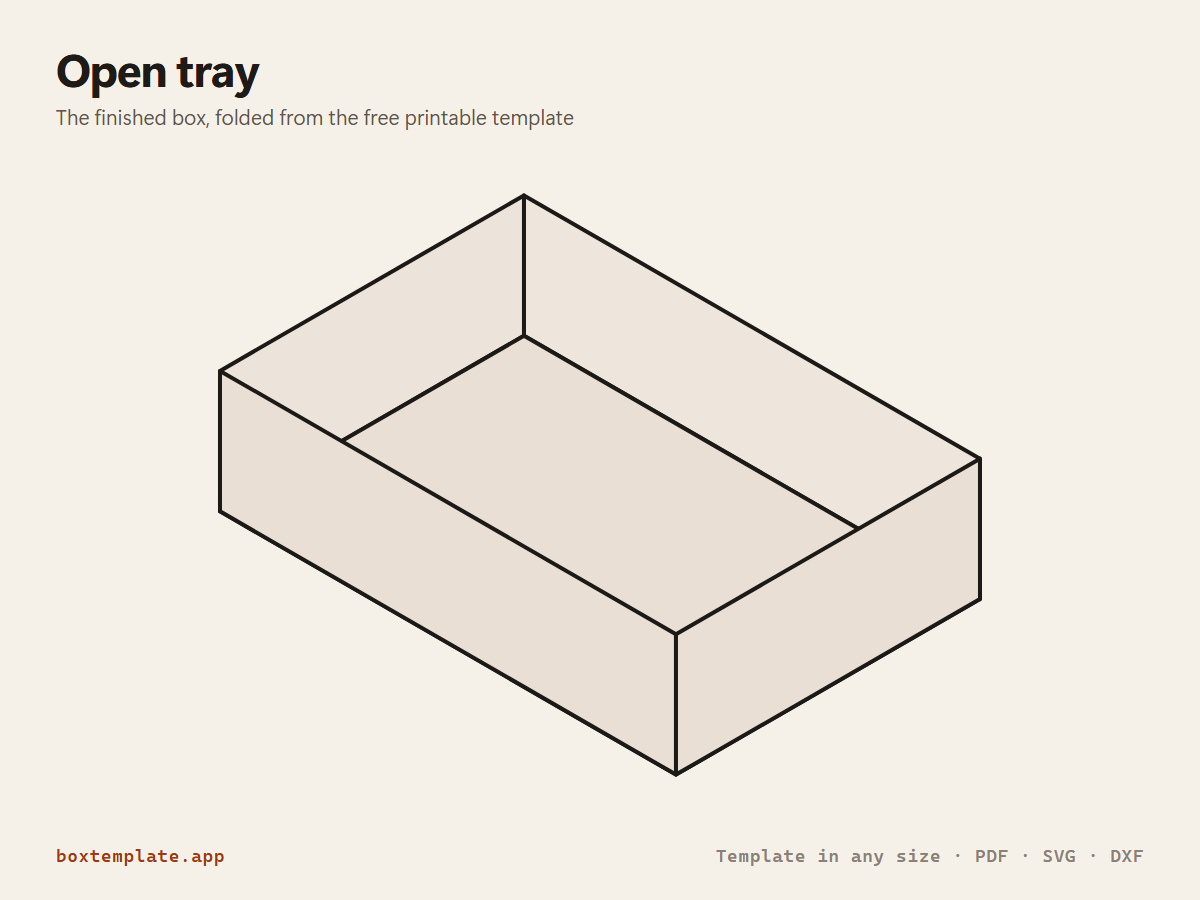
Open tray. The basic organiser: four walls and a base. Type the size you planned and the height, taking off the card thickness as explained in the questions at the end.
Box with dividers. One tray split into sections. Good for small things: buttons, batteries, hair ties, screws.
Nestable tray. Trays with sloping walls that stack inside each other when you do not need them.
Self-locking tray. Holds together without glue, so it can be flattened and moved.
Tray insert. A low insert with cut-outs, made to hold separate items in place.
Magazine file and Book box. For shelves rather than drawers: papers, notebooks, catalogues, or a box that looks like a book on the shelf.
Dispenser box. For anything you take out one at a time: tea bags, sachets, plasters.
Step 4: the right card
Organisers get knocked, lifted and refilled for years, so they need stiffer card than a gift box.
- Desk and bedroom drawers: 300–350 gsm card, or cereal-box card (about 0.5 mm). See how to use card you already have.
- Heavy items (tools, cutlery, cans): thin corrugated board.
- Kitchen and bathroom: card softens in damp. Cover it with clear self-adhesive film before cutting, or keep card trays out of anywhere wet.
Set the card thickness in the maker under Advanced settings. In a tray it decides how well the walls meet at the corners.
Step 5: make them strong
- Score every fold and fold the walls up sharply. The scoring guide shows how.
- Glue the corner tabs with PVA, not tape. Tape lets go as the tray is lifted again and again. Hold each corner with a peg or a bulldog clip while it dries.
- Line the base with felt or patterned paper. It looks finished and stops things sliding.
- Label the front of each tray. A strip of washi tape and a pen is enough.
Ideas by room
- Desk: pens, sticky notes, cables, chargers, a tray for things to deal with.
- Kitchen drawer: utensils, spice sachets, foil and clingfilm, takeaway menus.
- Craft room: ribbons, washi tape, glue, a tray of scissors and knives at the back where small hands do not reach first.
- Bathroom cabinet: plasters, hair ties, travel bottles (with a film-covered tray).
- Wardrobe: socks, belts and ties in a long divided tray.
Questions
Will card trays last?
In a dry drawer, trays made from 300 gsm or thicker card and glued with PVA last for years. Replace them when the corners soften; it takes a few minutes and costs a few sheets.
My tray is bigger than one sheet. What do I do?
The maker prints each piece on its own sheet and never splits a piece. Choose a larger paper size, such as A3 or US Tabloid, and print at a copy shop, or make two smaller trays that sit side by side.
Should I enter the outside or inside size?
The maker uses the size you type as the inside. For trays that have to fill a drawer, take the card thickness off each side so the outside fits the space you measured. The measuring guide explains the difference.