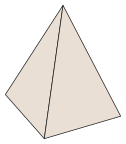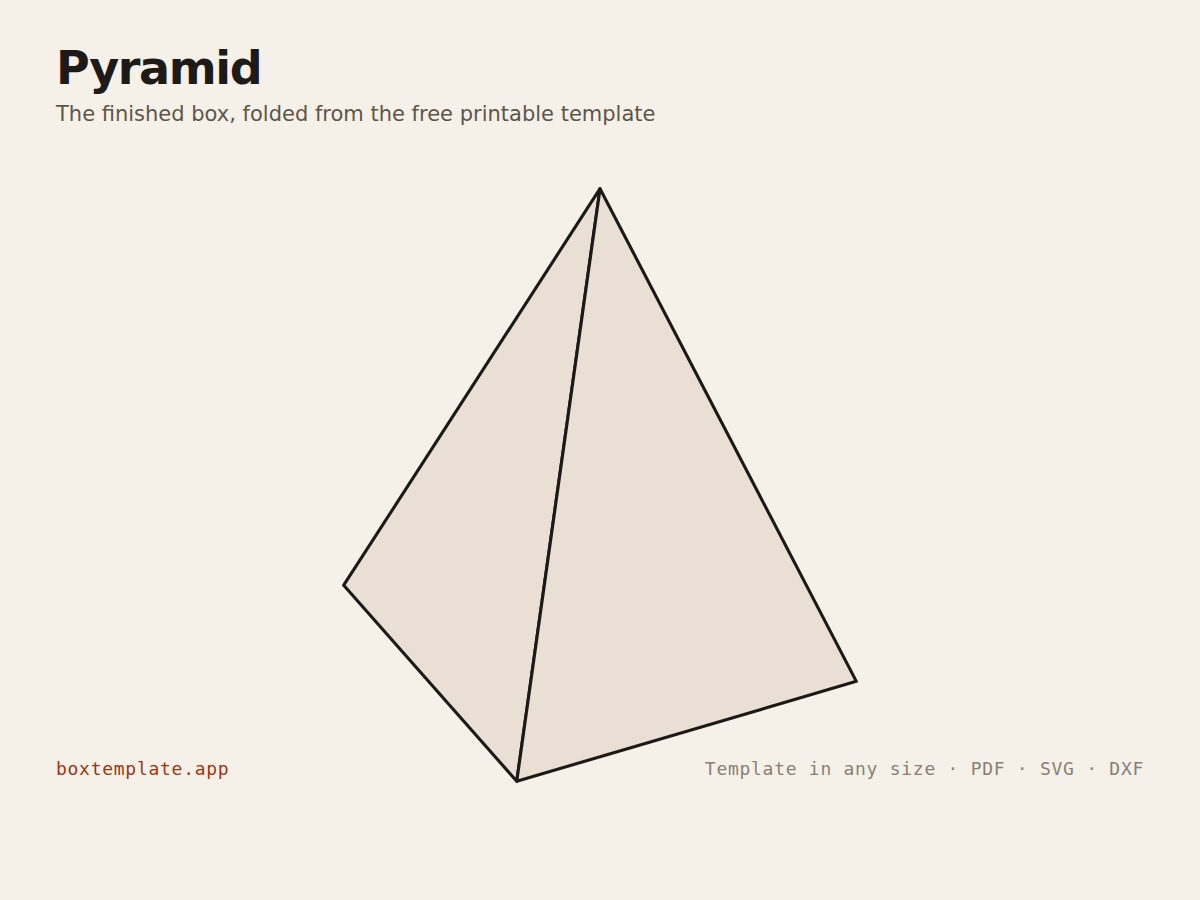
A pyramid box is one of the easiest boxes to fold and one of the best-looking on a table. It is a favour box at weddings and parties, a gift box for something small, and a school project when the class reaches ancient Egypt. The Pyramid template draws one on any base from a triangle to a twelve-sided polygon, at whatever size you type.
1. Choose the base
- Three sides gives a tetrahedron-like box with a triangle base: small, sharp and quick to fold.
- Four sides is the classic Egyptian pyramid with a square base, and the one the template opens with.
- Six or more sides looks rounder, more like a tent or a spire, and holds more for the same height.
The more sides, the more faces there are to fold and glue, so a twelve-sided pyramid takes noticeably longer than a square one.
2. Type the size
The template asks for two measurements:
- Base side length: the length of one edge of the base. For a square base that is simply the width of the square.
- Height: straight up from the middle of the base to the point, the way you would measure it standing on a table. It is not the length of the sloping face; the template works that out.
To fit something inside, remember that a pyramid narrows quickly: a tall object only fits near the middle of the base, so measure it and leave plenty of room above it. For sweets, a small toy or jewellery, a base of 60 to 80 mm is a good start.
3. Check the paper
A pyramid's template is a star of faces round the base, so it spreads wider than the box. The square pyramid the template opens with, a 70 mm base and 100 mm tall, fits on one sheet of A4 or US Letter, and so does the triangle at the same size. A six-sided pyramid with 50 mm sides and the same height needs A3. If what you type will not fit, the box maker says so before you print and offers bigger paper or a smaller pyramid.
4. Card
Use card around 250 to 300 gsm, roughly 0.3 mm thick. Thinner card makes floppy faces that bow inwards; much thicker card is hard to fold into a sharp point. Set the thickness in the maker. The card guide explains the numbers.
Coloured card needs no printing on the outside: print the template on the back, which becomes the inside of the box, and cut from that side.
5. Fold and glue
- Cut out on the solid lines. Score every dashed line with an empty ballpoint pen against a ruler; the scoring guide shows how.
- Fold every base edge up, so the faces stand round the base.
- Crease each glue tab along its fold line.
- Glue each tab behind the next face, working round. Hold each joint for a few seconds.
- Fill it before you close the last face.
The points are the fiddly part. If the top will not meet neatly, the folds along the base are usually not sharp enough; press each one flat again before gluing.
Make one that opens again
Leave the last tab unglued and tuck it inside the face next to it. The box closes neatly and opens without tearing, which is what you want for a favour box someone will keep. A ribbon tied round the point holds it shut for carrying.
Ideas
- Wedding and party favours: a sugared almond, a chocolate or a seed packet each, in a row along the table.
- School projects: an Egyptian pyramid in sand-coloured card, with the base side and height written on it as a maths lesson. A child of about seven can fold the square one with an adult cutting.
- Gift boxes for jewellery or a small keepsake, in metallic card. Score metallic card before folding or the shiny surface cracks.
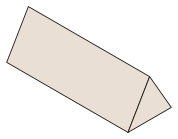
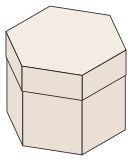
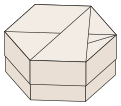
- For a triangular box that lies on its side instead of standing on a point, use the Triangular prism box. For a many-sided box with a lid, use the Polygonal box.
Questions
Is it safe to put food in it?
Wrapped sweets, yes. Card and printer ink are not made to touch food, so put anything unwrapped in a paper case or a twist of greaseproof paper first.
Can I cut it on a Cricut?
Yes. Download the SVG and set the fold lines to score. The Cricut guide explains how, and shows the biggest of the popular shapes that fits each mat.