The cell divider insert template, flat and folded
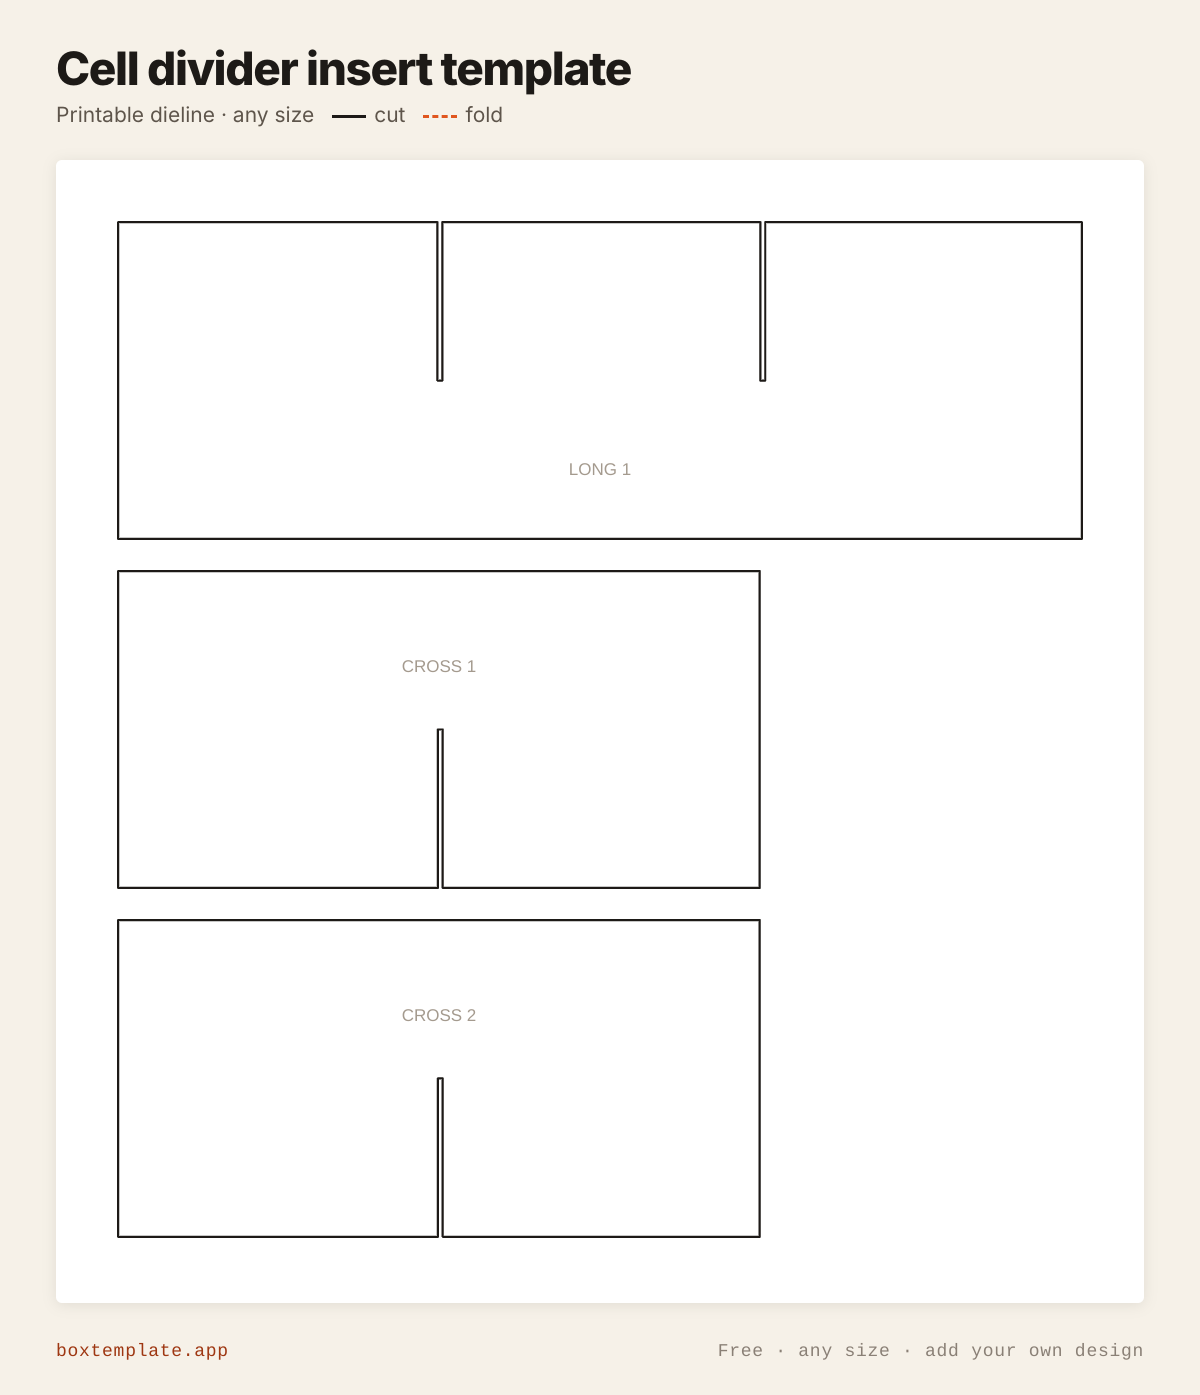
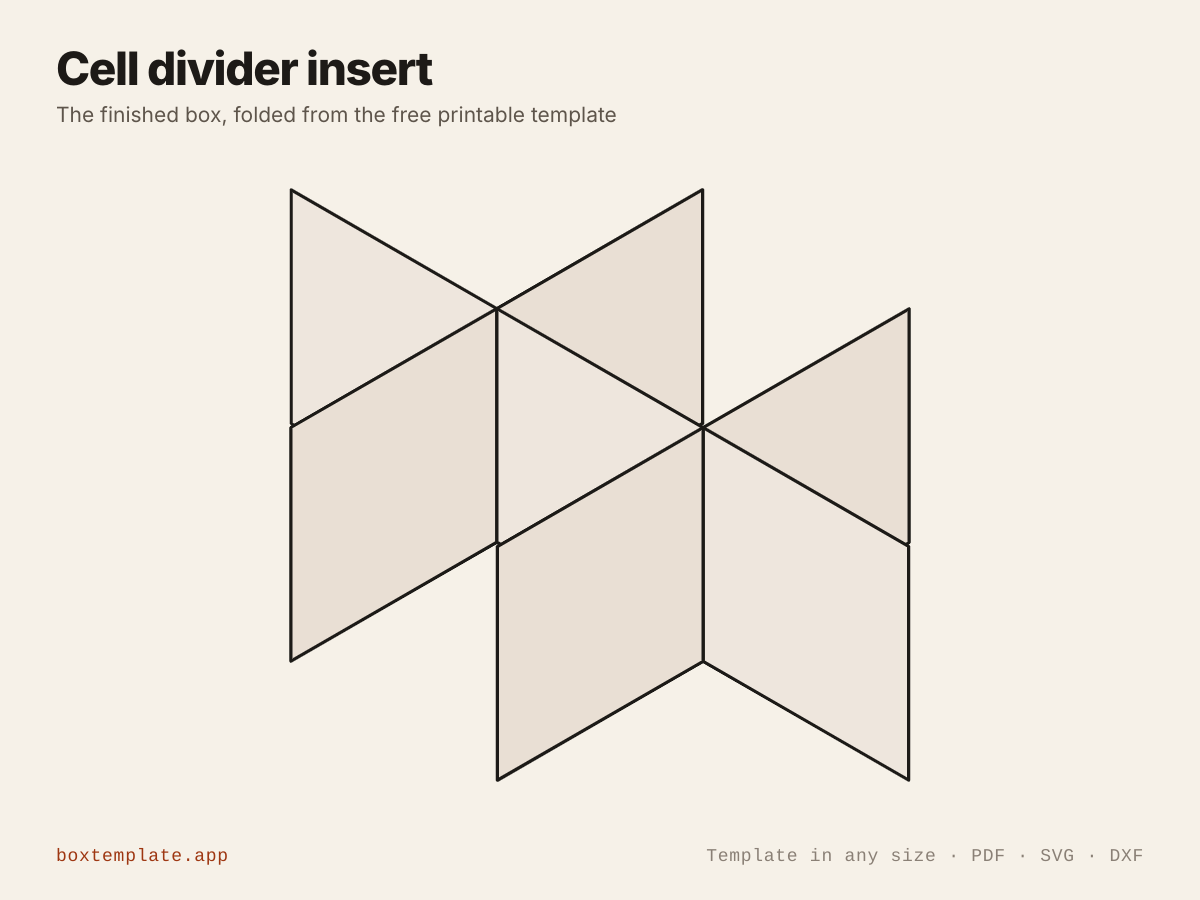
What this template is for
An egg-crate grid of dividers for a box you already have: strips along the length slotted down from the top, strips across slotted up from the bottom, so they mesh into equal cells. Wine and glass shipping, jars, baubles, mugs and drawer organisers.
Also called box divider insert · bottle divider · egg crate divider · partition insert — all the same shape, and this is it.
- Wine and glass bottle shipping
- Jars, candles and mugs
- Christmas baubles and ornaments
- Drawer and craft organisers
How to use this template
All four downloads are the same cell divider insert at the same size — only the format changes.
- PDF printing at home
- Print at 100 per cent, or hand it to a print shop as "actual size, no scaling".
- PNG 300 dpi Canva, Photoshop, Procreate
- Upload, lock it in place and design your cell divider insert on top. Free plan and phone included. Full Canva walkthrough →
- SVG Cricut, Illustrator, Inkscape, Affinity
- Vector, with cuts, folds and labels on separate layers. Cricut and Silhouette walkthrough →
- DXF Silhouette, laser and vinyl cutters
- Two layers, CUT and FOLD — and the one free Silhouette Studio Basic will open.
Printing it
- Type your size above, then download the PDF.
- Print at 100% — never “fit to page”, or every measurement comes out wrong.
- Too big for the paper? Pick your paper size and leave Fit the pieces to the page ticked: each piece gets its own place on a sheet and the PDF comes out with every page in it, nothing cut in half and nothing to tape.
How to put it together
These pictures are the cell divider insert itself, not a generic diagram — change the measurements above and the template changes, but the three steps never do.
-
Cut the solid lines
Every solid line is a cut. Do the inside shapes first, while the sheet is still whole and easy to hold.
-
Score every dashed line
Dashed lines are folds. Score each one first — an empty ballpoint against a ruler — or the card cracks along the outside of the bend.
-
Fold, glue and hold
Cut out the strips and their slots. Stand the CROSS strips up with their slots on top, then push each LONG strip down onto them, slot into slot, until the tops are level. Drop the grid into the box.
Glue: a glue stick for paper, white PVA on card — hold each seam thirty seconds, and let the box dry standing up.
Questions about the cell divider insert
- How do the strips fit together?
- The long strips are slotted down from the top, the cross strips up from the bottom, each slot exactly half the height, so they slide together with the tops level.
- How wide are the slots?
- Your board thickness plus 0.4 mm (never under 0.8 mm), so they slide together on card or corrugated without tearing.
- How big are the cells?
- Equal: the box’s inside length, less the dividers’ own boards, shared between the cells along it, and the same across.
Print your own design on it
Add a logo, photo or pattern in the panel on the left and drag it onto the cell divider insert. It is trimmed to the cut outline, embedded properly in the PDF, and never leaves your computer — most free template sites hand you the outline and stop there. How printing your own design works.
Templates like this one
See all 118 templates · For Canva · For Cricut · For Etsy sellers · Getting it printed
Collections: Wedding and party favour box templates · Christmas box templates · Food box templates